DIY wall art offers a creative and personalised way to enhance home decor. By creating unique pieces, individuals can express their style and transform any space without a hefty price tag. Whether it’s paintings, sculptures, or mixed media, there is a multitude of wall art ideas that cater to various tastes and skill levels.
Engaging in DIY projects fosters a sense of accomplishment and adds a personal touch to the home. Many discover that the process of making art can be just as rewarding as the finished product. From simple framed photographs to intricate canvas paintings, the possibilities are endless.
With some basic materials and a bit of imagination, anyone can craft stunning art that reflects their personality. This article will explore various techniques and inspirations for DIY wall art that can elevate any room.
Planning Your DIY Wall Art Project
Successful DIY wall art starts with careful planning. Selecting the right materials, drawing on design inspirations, and understanding colour and composition can transform a blank space into a vibrant showcase.
Choosing the Right Materials
Selecting suitable materials is essential for creating durable and visually appealing wall art. Factors to consider include the desired aesthetic and the type of artwork. Common options include:
- Canvas: Perfect for painting or fabric art; available in various sizes.
- Wood: Can be used for a rustic look; consider plywood or reclaimed wood.
- Paper: Affordable for printed designs or sketches.
- Upcycled items: Consider using old frames or objects for a unique touch.
For a budget-friendly project, explore local thrift shops or craft stores for discounted materials. Ensure any materials used are capable of withstanding the environmental conditions of the space.
Design Inspirations
Finding inspiration for wall art can come from numerous sources. Styles can range from abstract art to thematic designs. Exploring city-themed inspirations like London wall art (or a favourite place) can provide ideas that capture the city’s iconic architecture, culture, and modern aesthetic, offering a distinctive theme for contemporary interiors. Some ways to gather ideas include:
- Social media: Platforms like Pinterest and Instagram are rich in visual content.
- Nature: Outdoor environments can inspire colour palettes and forms.
- Art shows: Local galleries often showcase emerging artists and contemporary styles.
Create a mood board to assemble favourite ideas. This helps in deciding on an overall theme, whether it’s geometric patterns, botanical prints, or mixed media.
Understanding Colour and Composition
Colour and composition significantly impact the effectiveness of wall art. Selecting a cohesive colour palette enhances the visual appeal. Tips include:
- Choose a colour scheme: Select 2-4 colours to maintain unity.
- Consider the space: Bright colours can energise a room, while muted tones promote calm.
The composition should balance elements effectively. Techniques like the rule of thirds can guide the positions of focal points. Use negative space intentionally to prevent overcrowding. This creates a breathable layout that draws the viewer’s eye naturally across the artwork.
Creating Your Art Pieces
DIY wall art allows for creative expression through various materials. Focusing on techniques such as constructing paper wall art, crafting with canvas, and assembling a gallery wall, individuals can create a personalised and striking decor.
Constructing Paper Wall Art
Creating paper wall art is both accessible and rewarding. One popular approach involves using cardstock, scrapbook paper, or even old book pages.
- Materials Needed:
- Cardstock or paper
- Cutting tools (scissors or craft knife)
- Adhesive (glue or double-sided tape)
- The frame or mounting options
Techniques can include origami, paper cutouts, or mixed media. Layering different textures and colours can enhance visual interest. For example, a simple floral silhouette made from coloured paper can transform a blank wall into a vibrant focal point.
Creating 3D effects is also achievable by folding or rolling paper elements, adding depth and dimension. This would certainly elevate the look of any space.
Crafting with Canvas
Canvas art offers a timeless and versatile aesthetic that complements any theme. Artists can work with pre-stretched canvases or craft their own using canvas fabric and wooden frames. However, visiting a framing shop in london or your local area can help achieve a more polished look with a long-lasting finish.
- Essential Supplies:
- Pre-stretched canvas or fabric
- Acrylic or oil paints
- Brushes and palette knives
- Protective varnish (optional)
A popular technique is pouring paint, which creates unique fluid designs. Combining colours can lead to stunning abstract effects. Additionally, techniques such as stencilling or using sponges can produce textured finishes.
Canvas prints of digital artworks or photographs provide another avenue for personalisation. Customising size and colour schemes allows for coherence with existing decor while showcasing individual styles.
Assembling a Gallery Wall
A gallery wall combines various artworks to create a cohesive display. Choosing a theme, such as colour or style, can help in selecting complementary pieces.
Steps for Assembly:
- Select the Artworks: Mix paper wall art, canvas pieces, and photos.
- Lay Out the Arrangement: Use painter’s tape to outline the arrangement on the wall.
- Hanging: Use nails or hooks to securely mount each piece.
Incorporating different frame styles and sizes adds visual interest. Leaving space between pieces enhances the gallery effect.
Regularly updating the display with new DIY wall art ideas keeps the arrangement fresh and exciting, reflecting personal growth and interests.
Special Techniques and Ideas
Creative approaches can enhance DIY wall art projects, making them unique. This section focuses on vintage botanical themes, sunburst mirrors, and wooden elements, offering insightful techniques for each.
Vintage Botanicals and Floral Themes
Using vintage botanical art adds a classic touch to any space. Individuals often source a Printable Vintage Art or old illustrations that highlight various plants and flowers. They can frame these pieces in ornate frames to amplify their visual impact.
Printed fabrics can also be transformed into wall hangings. For instance, fabric covered with botanical designs can be stretched over a canvas frame. This technique provides a textured look while maintaining the vintage aesthetic.
Creating a gallery wall featuring a mix of framed vintage prints and floral art is effective. Different frame styles and sizes can add visual interest, drawing the eye across the entire display. Incorporating some three-dimensional elements, like pressed flowers in shadow boxes, can further enhance this theme.
Developing a Sunburst Mirror
A sunburst mirror serves as a statement piece, combining both functionality and style. To create one, individuals need a circular mirror and various materials for the sunburst effect—common choices include wooden dowels, metal rods, or even old spoons.
Begin by fixing the mirror to a sturdy base. The base could be a circular piece of wood or even a decorative plate. Next, arrange the chosen materials around the mirror in a starburst pattern. This can be done by attaching the items at various lengths to create a three-dimensional effect.
Painting the rays in contrasting colours can heighten the piece’s visual appeal. Rich golds, silvers, or bright hues can create a captivating focal point, making it suitable for various interior styles.
Working with Wooden Elements
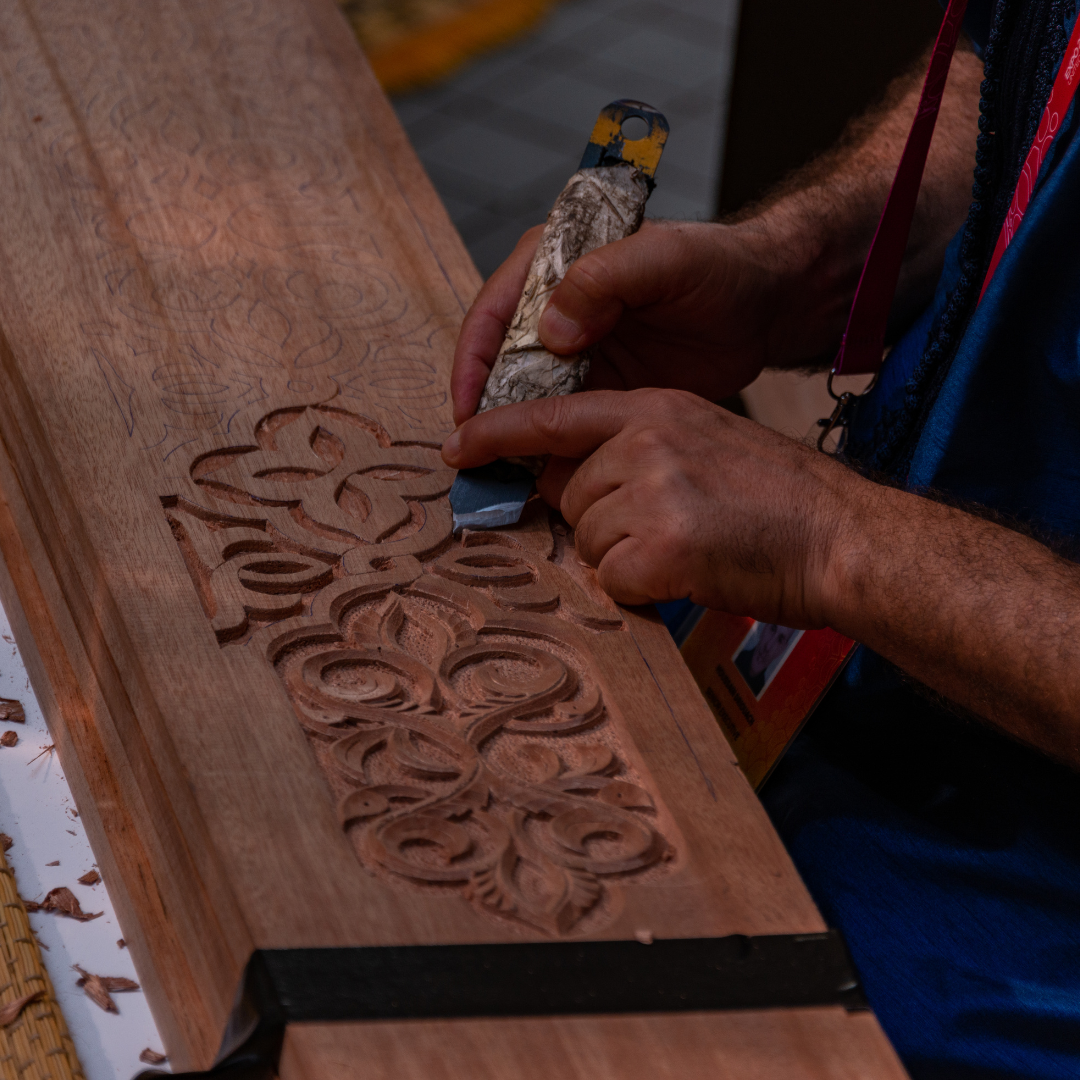
Wooden signs add rustic charm to wall art and are easy to customise. Individuals can use reclaimed wood as an eco-friendly choice. They can sand it down for a smoother finish and use stencils or freehand techniques to paint on their chosen designs or quotes.
Burning designs into the wood using a pyrography tool is another technique. This method creates a vintage look, enhancing the wood’s natural grain. Furthermore, adding hooks or small shelves to wooden pieces can introduce functionality, making them not just decorative but useful as well.
Incorporating different types of wood and finishes can create depth and texture. For example, mixing light and dark woods in one piece can enhance its aesthetic appeal while showcasing craftsmanship.
Final Touches and Installation
Adding the finishing touches and ensuring proper installation is vital for showcasing DIY wall art effectively. This section discusses optimal mounting techniques and creative ways to style the decor within a space.
Mounting and Preservation
Choosing the right mounting method is essential for wall hangings and photo canvases. Options include:
- Nails or hooks: Simple and effective for lightweight pieces.
- Command strips: Ideal for renters, as they leave no marks on walls.
- Gallery rails: Perfect for frequently changing artwork, allowing easy rotation.
Once mounted, preservation is crucial. Protecting art with a clear coat or UV-resistant spray can prevent fading and damage. Consider:
- Framing: It can enhance aesthetics and add an extra layer of protection.
- Placement: Keep artwork away from direct sunlight to minimise wear.
These strategies ensure DIY creations last while remaining visually appealing.
Styling Your Space with DIY Art
Integrating DIY art into home decor requires thoughtful styling. Begin by assessing the space. Consider the following:
- Scale: Select pieces that complement the size of the wall and surrounding furniture.
- Theme: Maintain a consistent style throughout the room. This can be achieved by using a limited colour palette or a specific artistic technique.
Group smaller pieces together to create a gallery wall or choose a statement piece to anchor the room.
Use various display techniques such as shelves or leaning art against walls for a relaxed feel. Incorporating these ideas enhances the room’s character while showcasing creativity through budget-friendly DIY projects.